Exercise when traveling

Friday, September 30, 2011

With a vacation in my near future my mind is turned to how I am going to continue to exercise while traveling. So here are some quick and easy ways to make exercise possible while on the road.....

1. Bring some resistance bands. They are light weight and easy to stow away in a suitcase.

2. Bring a workout dvd to play while in the hotel room.

3. Make sure to pack exercise clothes so that you don't have an excuse when getting to your destination.

4. If you are traveling for work or pleasure try to find a coworker or friend to join you in exercising. If    you have someone you are committed to meeting you are more likely to workout.


5. Take advantage of the hotel gym. You are paying for the thing, you might as well use it!

6. If you are traveling to a unique and cool location, look before your trip to see if there are any cool running or walking trails in the city or community.

Just because you are out of town doesn't mean you have to make excuses for not being able to exercise. Whether it is 10 minutes or an 60 minutes, it is great to plan ahead to make sure you continue to meet your fitness needs while traveling!

Have a great weekend!


Zucchini Bread

Thursday, September 29, 2011

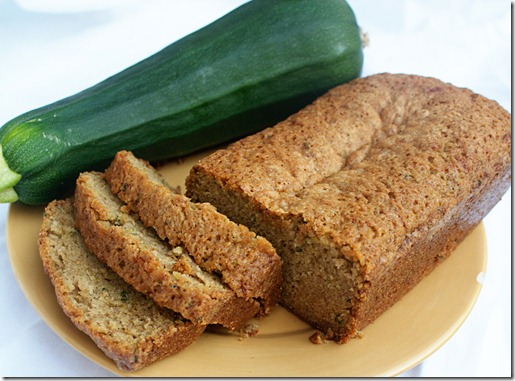
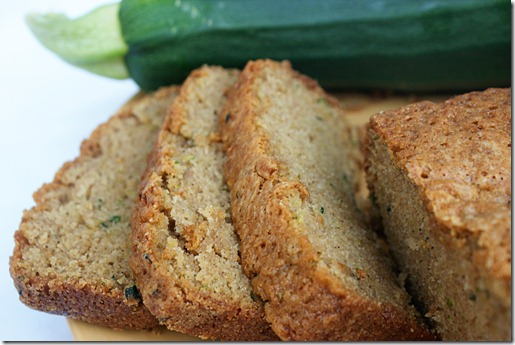
With fall in the air, what a better way to start heating up the kitchen then by baking bread. But not just any bread. How about delicious, light, fluffy zucchini bread?! This recipe is really hard to mess up. Plus, it won't leaving you feel like you just ate a brick, or like there is peanut butter stuck to the roof of your mouth. Go give it a try!
SONY DSC

Zucchini Bread

1 pound zucchini (you’ll end up with about 1 to 1 1/2 cups of zucchini once it has been shredded and wrung through a towel to rid of excess liquid)
2 cups flour
1 teaspoon baking powder
1 teaspoon baking soda
1 teaspoon salt
1 teaspoon ground cinnamon
1 teaspoon allspice
1 1/2 cups granulated sugar
2 large eggs
1/4 cup plain yogurt (not fat-free)
1 tablespoon fresh lemon juice or sour cream
6 tablespoons butter melted

Preheat the oven to 375 degrees. Generously coat a 9-inch by 5-inch loaf pan with cooking spray.

Chop the ends off the zucchini (just 1/4-inch off each end) and finely shred the zucchini. Place the shredded zucchini in a clean kitchen towel and squeeze out all the excess water. You should have about 1 to 1 1/2 cups of dry zucchini. Set the zucchini aside.

In a large bowl, sift together the flour, baking soda, baking powder, cinnamon, allspice, and salt. In a smaller bowl, whisk the sugar, yogurt, eggs, lemon juice or sour cream, and butter until combined.

Gently fold the yogurt mixture and zucchini into the flour mixture, using a rubber spatula to fold the ingredients together until just combined. Transfer the batter to the prepared pan.

Bake until golden brown and a knife inserted in the center comes out with a few crumbs attached, 45-55 minutes. Cool for 10 minutes then place on wire-rack or plate. Store well-covered for up to three days.
SONY DSC

C593620B0C6868E716146B79220E3FB7


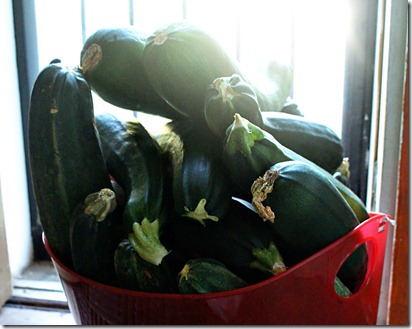
P.S. Angela here, first to say that this bread is AMAZING! So you should definitely give this recipe a try. Second, to plea with you. I am looking for new zucchini recipes. Look at this…
SONY DSC

We over planted our zucchini this year. We ate so much zucchini this summer! We ate steamed zucchini(my personal favorite, just plain and simple) stuffed zucchini boats, zucchini parmesan crisps, zucchini crusted pizzas, and even this delicious zucchini bread! I currently have 23 giant zucchini sitting in my kitchen, that’s after giving a lot away! So what other recipes zucchini recipes should I try? I would love to hear how you use your zucchini. Let me know what recipes you use. Maybe we will even feature some here!

Thanks! I can’t wait to try your recipes.

41D7BC788C40AFDD713E5833753FB8F5

New Necklaces

Tuesday, September 27, 2011

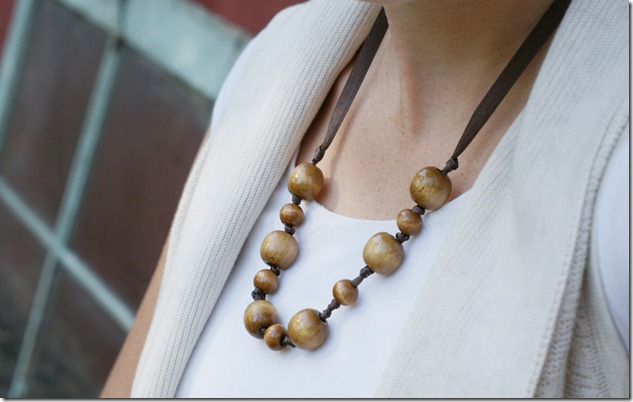
SONY DSC

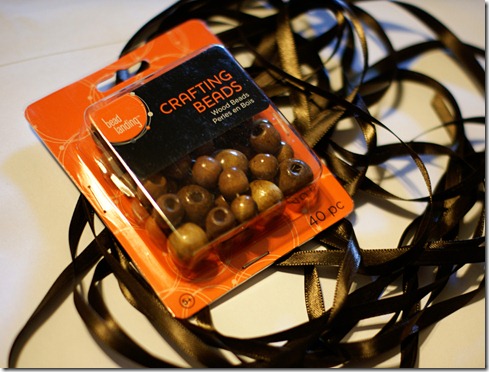
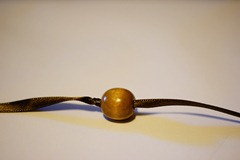
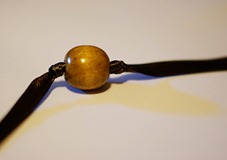
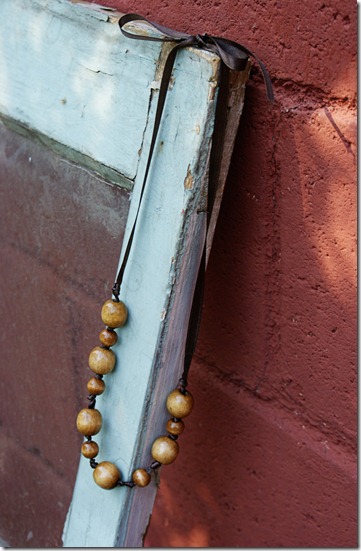
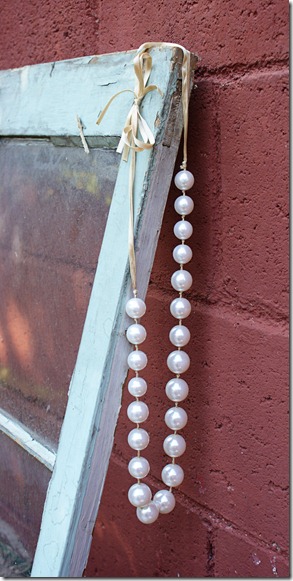
Today, I thought I would share with you how to make a fun new necklace. All you need is 4 feet of ribbon, some crafting beads, and some tape.

SONY DSC


SONY DSC

SONY DSC


DSC00284
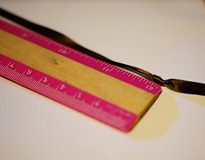
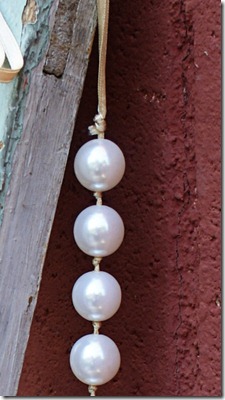
1. First, measure 1 foot from the end of your ribbon and tie a double knot.

2. Then measure 1 foot from the other end of your ribbon and mark with a piece of tape. This is so you know where to stop adding beads.

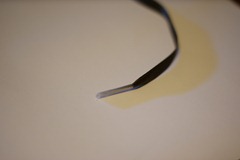
3. Then add a piece of tape to the end of the ribbon where you will be threading your bead. It will just make it easier to thread.

SONY DSC

SONY DSC

SONY DSC
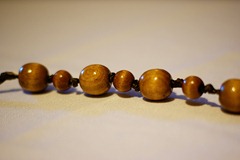
4. Then string your first bead on. 5. Then tie another double knot. 6. Then keep adding a bead and tying a double knot until you have all of your beads on. (I used eleven beads)


SONY DSC

Here is another one made with the same knotting the ribbon technique.

SONY DSC

SONY DSC

This one was created with two ribbons.

SONY DSC

I have a lot of beaded necklaces. Most of them I haven't worn in years. So I thought to myself, how can I make them wearable again. Here are a few suggestions.


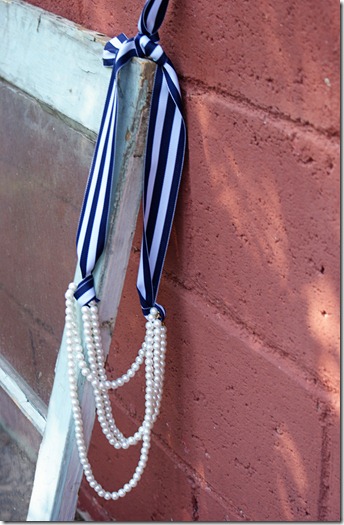
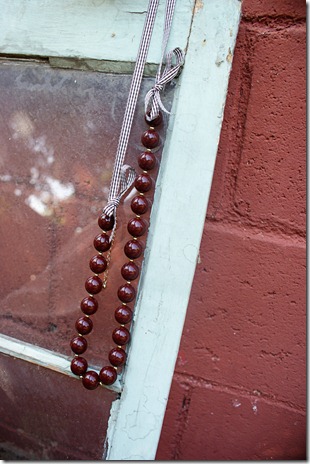
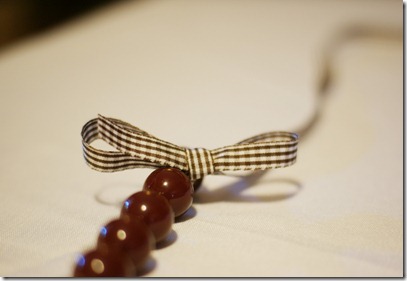
You can fold a necklace in half and add a striped ribbon. (The idea for this came from Pinterest.)

SONY DSC

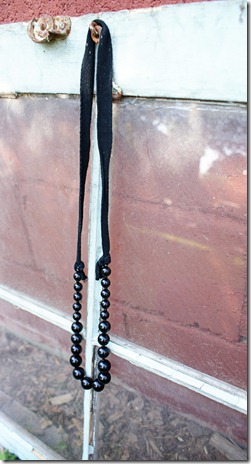
You can use on old shoelace and tie that to the ends of your beads.

SONY DSC

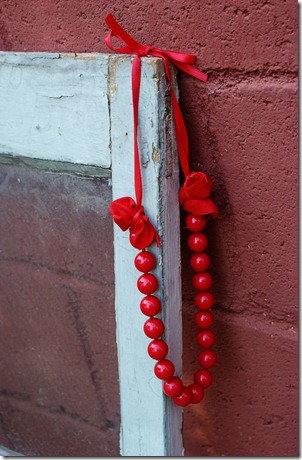
You can use a patterned ribbon or fabric to tie to the ends of your beads. Instead of just tying it in a knot, you could tie bows at the end of the beads. Maybe something for a little girl.

SONY DSC

SONY DSC

My beads came with a chain at the end of them so that you can hook them around your neck. You can either take the chain off, or you can cover it with some fabric and then tie some ribbon around it.

SONY DSC

Just a few ideas on how to create new beaded necklaces, and how to spruce up some old ones!

41D7BC788C40AFDD713E5833753FB8F5

Lauren's Craft Day

Saturday, September 24, 2011

This week I am veering from my usually fitness and nutrition posts to blog about a recent project I worked on. I guess my sister angela is inspiring me! While perusing around Ikea I found a cute fabric that would be great for chair cushions on my dining room table. With my wonderful cousins help (thank you Lydia) I was able to work on this project.


1. We folded the fabric over and cut a little bigger then the size of our chair pads 


2. We then cut two long strips of fabric about 2 inches long and pinned them in half for the tie. We then sewed the edges and folded the strips in fourths so we could get four chair ties. We did this twice for the other two chairs


3. We then sewed around the edges of the fabric and made sure to sew rounded edges so the cushion would fit snug. We then pinned the open end and sewed it together with the ties on each end

4. Here is the final product 


I am very happy with the result and think it goes very well in our dining room! Maybe I can do this whole crafting thing a little more often!


Corn Chowder with Shrimp

Wednesday, September 21, 2011

Fall starts Friday so that means soup season is back. It is my all time favorite. So two days early I thought was okay enough to start whipping up soup. This original recipe is meant for a slow cooker. When I looked at the recipe at 4:00 this afternoon I realized there would not be enough time for me to do that so I improvised and liked the results so much I don't even need to bother trying this is a slow cooker. Shrimp, sweet corn and a medley of vegetables makes this one a winner! I served this with amazing homemade rolls. That recipe to come next week.


Corn Chowder with Shrimp

2 cans chicken broth
1 cup frozen corn
1 onion, finely chopped
1 bell pepper, diced
2 carrots, cut into 1/4-inch rounds
2 russet potatoes, diced
2 bay leaves
Salt and pepper
1 pound medium shrimp, peeled and deveined
2 cups milk
3 tablespoons butter
3 tablespoons flour
2 tablespoons dried parsley

Start by chopping all your vegetables. Place chopped onion, bell pepper, carrots, potatoes, bay leaves, 2 teaspoons salt, 1/2 teaspoon pepper in large pot. Pour in both cans chicken broth. Bring to boil and let the vegetables cook for about 10 minutes, enough to soften. Meanwhile melt 3 tablespoons butter in saucepan. stir in flour to form a paste. Whisk in milk and allow to thicken for about 5 minutes. Pour the thickened milk into the veggies and chicken broth and allow the flavors to mesh. Then stir in the shrimp, parsley and corn allowing those to heat through for just a minute. Serve and thoroughly enjoy!

Free Monthly Downloads!

Monday, September 19, 2011


free monthly download_edited-1

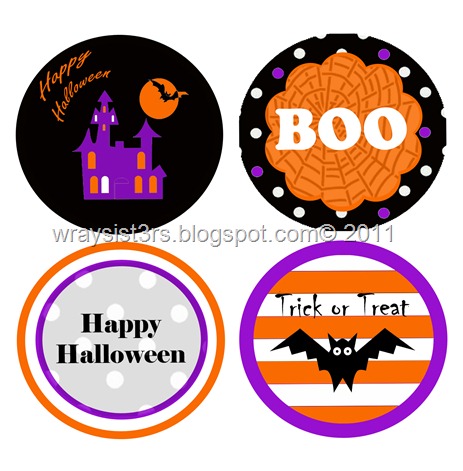
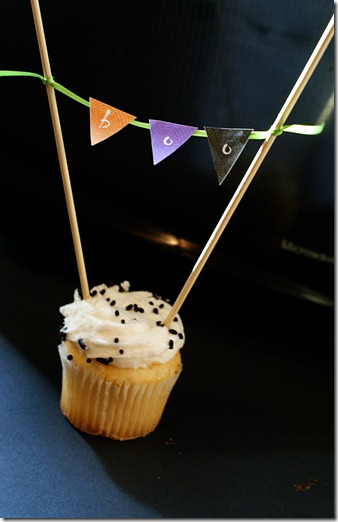
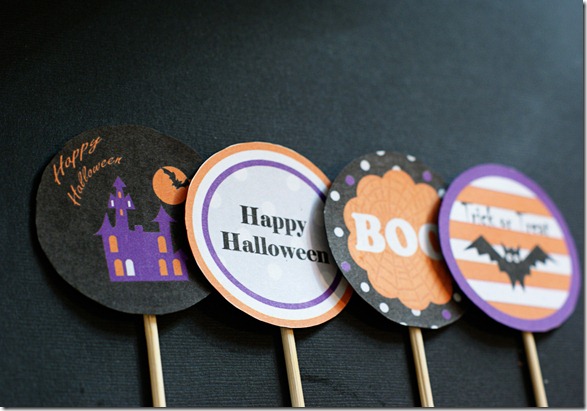
I am super excited to announce that we will be offering free printable's on a monthly basis! Yep, each month we will be offering a new free download. We have some great ones in store for the next few months. You can look forward to some cute recipe cards, meals plans to keep your weight on track during the holidays, even a goal calendar for the new year. There will be super fun things each month. This month we thought that we would start out with some fun Halloween cup cake toppers. We are getting a head start on the month of October. These will be available from now until the end of October.

How cute are these? There are 4 different designs.

halloween cake toppers2011

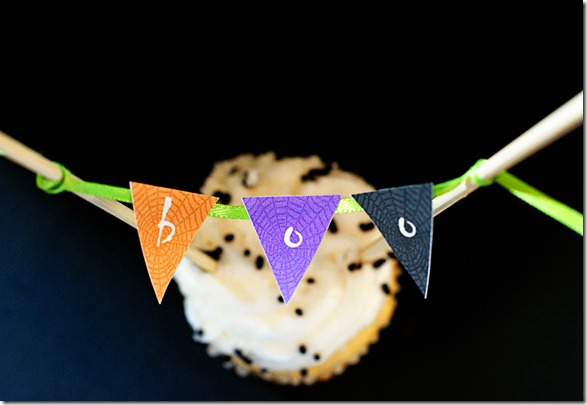
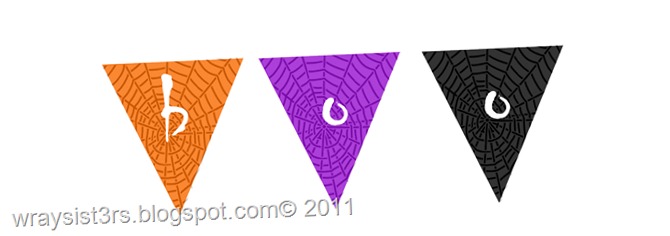
And as a bonus we are even offering a free mini bunting!halloween cake toppers 1

For the time being, all pintable's are being offered on our Facebook page. All you have to do is “like” our page and the download is free for you to use(and by use I mean personal use, not resale use.)

They are prefect for your cupcakes. Even if you are not planning on making cupcakes for Halloween, that's okay!

There are so many fun things you can do with these! Here are a few ideas:

  • turn them into stickers
  • use them as scrapbooking or card embellishments
  • make yourself a mini bunting to display in your home or on a wreath
  • use them as a matching game

They print on a letter size sheet. I recommend printing them on white cardstock. There are four designs with eight cupcake toppers on a page each approximately 2 1/2 inches across. Plus each sheet comes with two of the mini boo buntings. Get your free Halloween Cupcake Toppers here.

*Update: This is now available under the printables tab at the top of the blog.

SONY DSCSONY DSCSONY DSCSONY DSCSONY DSCSONY DSC

Say goodbye to your mid-section

Friday, September 16, 2011

For most women it is the most dreaded part of the body. It seems no matter what we do the weight collects in our mid-section. Well say goodbye to love handles and flabby abs with these six core exercises.


 1. Side V-Sit 


Do 2 sets of 10 on each side

Tip: Make sure to keep a tight core throughout the exercise 


2. Weighted Side Bend

Do 2 sets of 15 on each side 


Tip: Do this one often because it works your shoulders and arms as well as your abs


3. Dumbbell Torso Twist 

Do 2 sets of 15 on each side 


Tip: Make sure to really rotate your whole upper body while contracting your abs


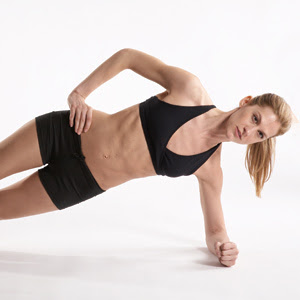
4. Side Plank

Do 2 sets of 30-45 secs hold

Tip: Try doing this with your back against a wall to make sure you keep a straight back and tight core throughout the exercise


5. Bridge on Ball 

Do 2 sets of 30-45 secs hold

Tip: Keep your butt raised and contracted the whole time to see greater results


6. Plank on Ball 

Do 2 sets of 20-35 secs hold


Tip: Make sure to keep a flat back and butt 


The great thing about all these exercises is that you can do them at home. As long as you have a workout ball and a pair of dumbbells you are good to go. 


Have a great weekend! 


Images came from women's fitness and shape.com

Related Posts Plugin for WordPress, Blogger...
Blog contents © better together 2010. Blogger Theme by Nymphont.